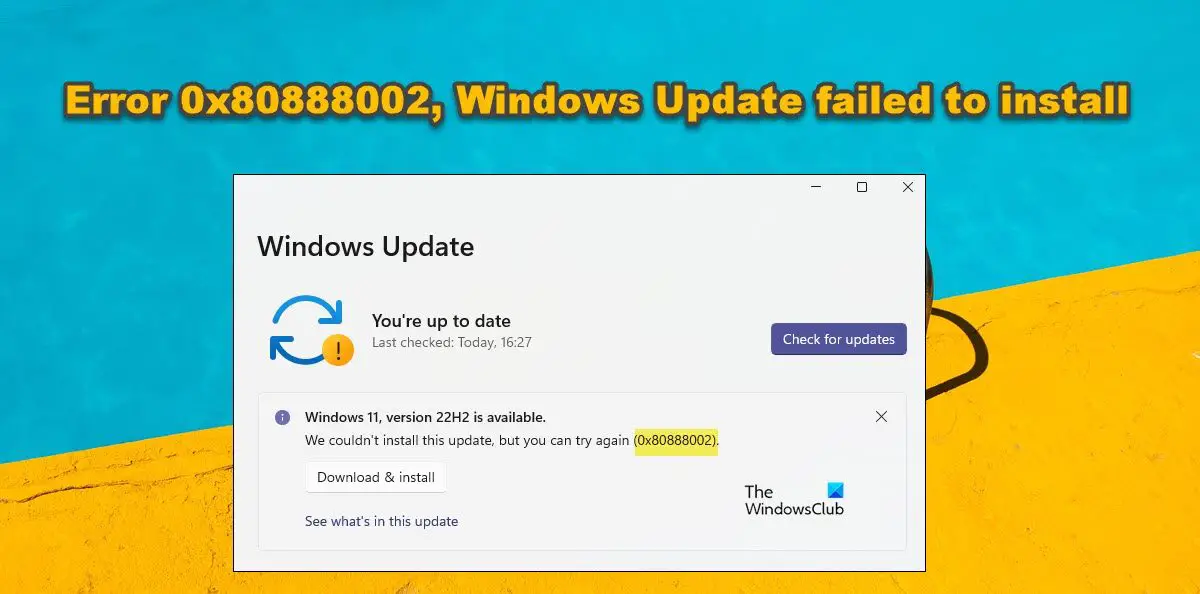
What causes Windows Update error 0x80888002?
If you have bypassed the installation check while installing Windows 11 or use some tool to install Windows 11 that automatically bypasses the security check, the error code will appear. When installing the 2022 version or 22H2, Windows check your system to make sure you have all the hardware required to install Windows 11, the lack of which results in the 0x80888002 error code. There are some other reasons and solutions that we will go over in this post.
Fix Error 0x80888002, Windows Update failed to install
If you see Error 0x80888002 and Windows Update failed to install on your system, follow the solutions mentioned below. Let us talk about them in detail.
1] Bypass installation check
In order to resolve the issue, by running a script that can bypass the checking required to install this version of Windows. To install that script, you need to go to github.com and download the MediaCreationTool.bat by clicking on Code > Download ZIP.
Once the file is downloaded, extract it and then navigate to MediaCreationTool.bat-main > MediaCreationTool.bat-main > bypass11. Then, right-click on Skip_TPM_Check_on_Dynamic_Update.cmd and select Run as administrator. Click Ok when the UAC prompt appears. You may also Windows Defender pop-up, click on Run anyway. Finally, follow the on-screen instruction to complete the process. You should revert the changes after installing the update, to do the same, just go to the same location and run the Skip_TPM_Check_on_Dynamic_Update.cmd again. Instead of installing, the script will give a message saying that it’s now removed.
2] Bypass TPM and Secure Boot using Rufus
You can also use Rufus to bypass TPM and Secure Boot, just download the Windows 22H2 or 2022 ISO. Then, you need to use Rufus to create an Installation Media that will bypass the TPM and Secure Boot. That will do the trick for you.
3] Run Windows Update Troubleshooter
Next up, we will run the Windows Update troubleshooter and let it scan for the cause and fix it. The Windows Update troubleshooter is a built-in Windows program that can resolve all kinds of Windows Update errors. To run the troubleshooter, you need to follow the prescribed steps. Windows 11 Windows 10 You need to follow the on-screen instructions to complete the process. Hopefully, this will do the trick for you.
4] Reset Windows Update Component
If nothing worked, then maybe some of the Windows Update files got corrupted or have some other issue. In that case, we need to reset Windows Update Component. Doing this will not delete any important Windows file, just delete the update cache which might be corrupted. After resetting the Windows Update Component, restart your computer and check if the issue is resolved.
5] Use Windows 11 Installation Assistant
If you see this error code when trying to install a Feature Update then you can use Windows 11 Installation Assistant to install the Feature Update
How do I fix Windows Update that failed to install?
If Windows Update failed to install on your computer, check what the error code was. Every error code has a certain meaning to it, therefore, you need to use it to search for solutions. However, a couple of things you can do regardless of the error code that you receive are running the Windows Update troubleshooter and clearing the Windows Update Component.
What does error code 0xC1900101 mean?
0xc1900101 is an installation error and it appears when trying to update the operating system and Windows restores the OS to the previous version. If you want to resolve the issue, we recommend you check our post to fix Error code 0xC1900101, We couldn’t install or update it. Windows 11 Installation Assistant also shows 0xc1900101, so, you can read that post to resolve the issue. Hopefully, you will be able to resolve the issue using the solutions mentioned in those posts. Read: 0xC1900101 – 0x20017, Installation failed in SAFE_OS phase.

